Bitaxe Ultra 204 Installation
01-06-2024
09:37
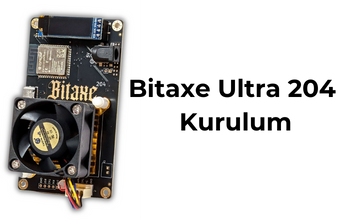
Bitaxe Ultra 204 BM1366 Installation Instructions
1. Take Bitaxe out of the box and attach the screen that comes in the box. Then attach the stand / stand legs that come in the box / assemble. You will need a screwdriver or a small hand drill for this. 2. Connect your Bitaxe 204 Ultra hardware to the power supply by connecting the power jack to the charger and plug it into the power outlet.
3. After Bitaxe is turned on after being connected to electricity, it will create a wireless network and this network will be automatically displayed on the OLED Screen.
4. Connect the Bitaxe 204 Ultra to a wireless network with a wireless device (laptop, smartphone, computer, etc.). A setup window should appear. If not, go to step 6.
5. If the installation window does not appear, go to the following address via your web browser from the device you are installing on: 192.168.4.1
6. Change the necessary settings (your Wifi SSID, Wifi Password, Username (this is your Bitcoin wallet address) and also select the pool/server you want. If you want to mine alone, leave it as it is. Open source solo mining mining server/pool is free.
7. Once all of this is entered, save everything to your Bitaxe Ultra 204 and reboot the hardware.
8. Once restarted, Bitaxe will start hashing.
You can now enter the following selections.
You can now enter the following selections.
Bitaxe's new IP address (shown on screen) on any computer / If you have selected the mining pool as "public-pool.io" via the device's web browser to see the Bitaxe web interface, you can go to the address public-pool.io from your web browser.
To see your real-time pool statistics visit https://web.public-pool.io/ .
If everything is configured correctly, your Bitaxe Ultra 204 hardware will start mining within seconds.
For Bitaxe Ultra Installation, You Can Watch the English Video Below.
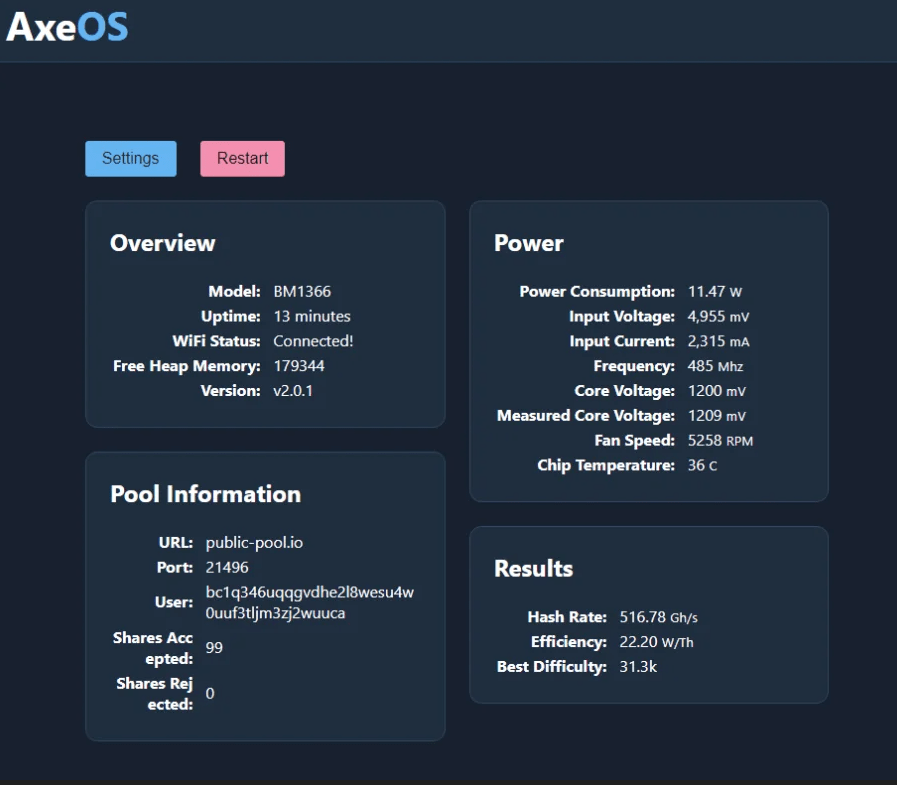
If everything is configured correctly, your Bitaxe Ultra 204 hardware will start mining within seconds.
For Bitaxe Ultra Installation, You Can Watch the English Video Below.